In late July 2006 I put a Bigsby on my Squier Telecaster Custom II guitar. Here is how I did it.
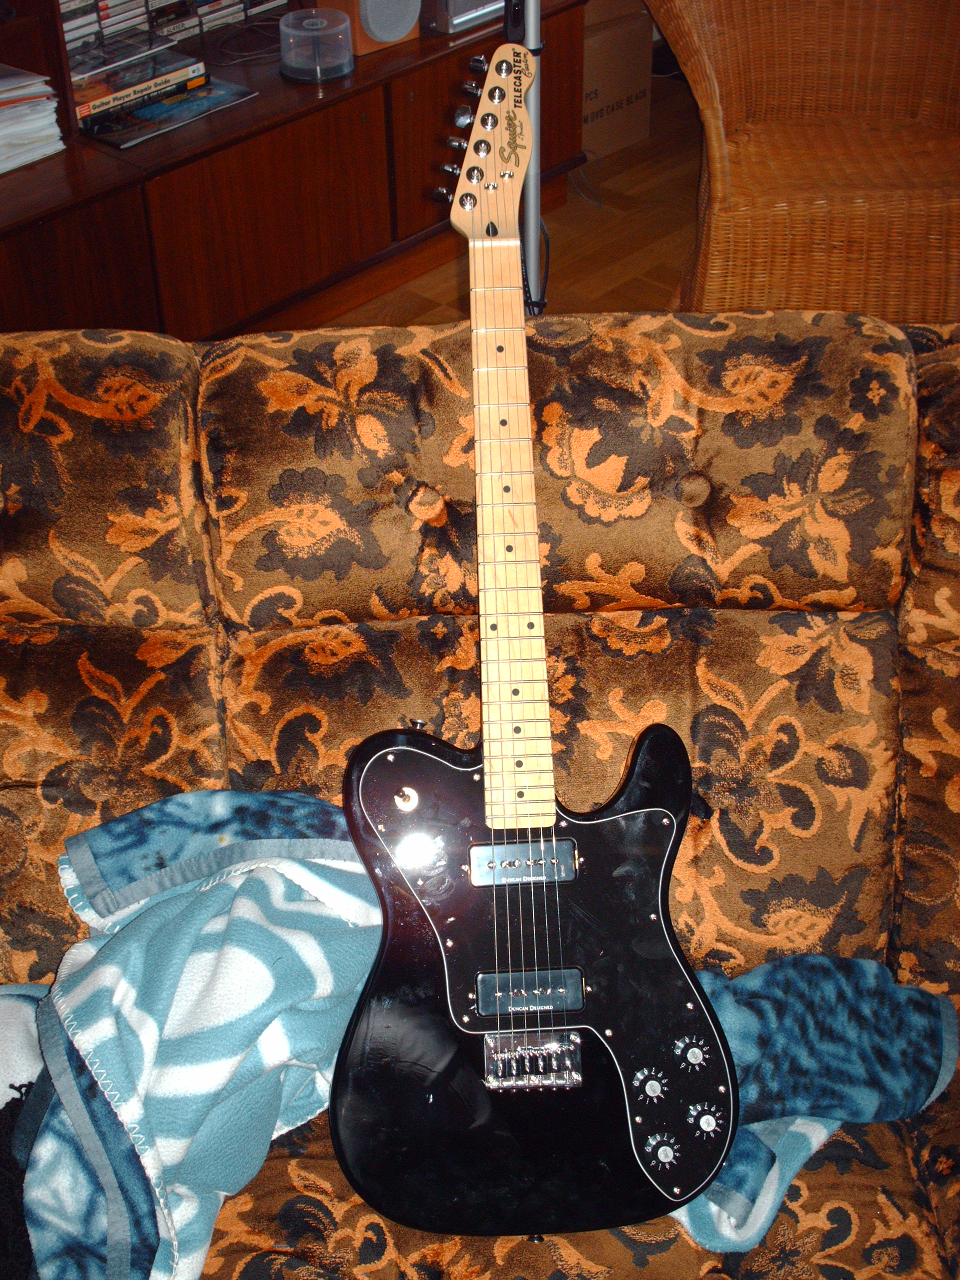
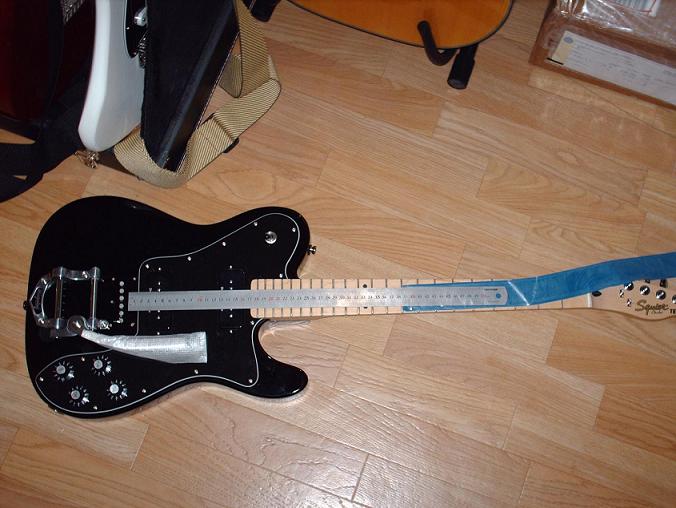
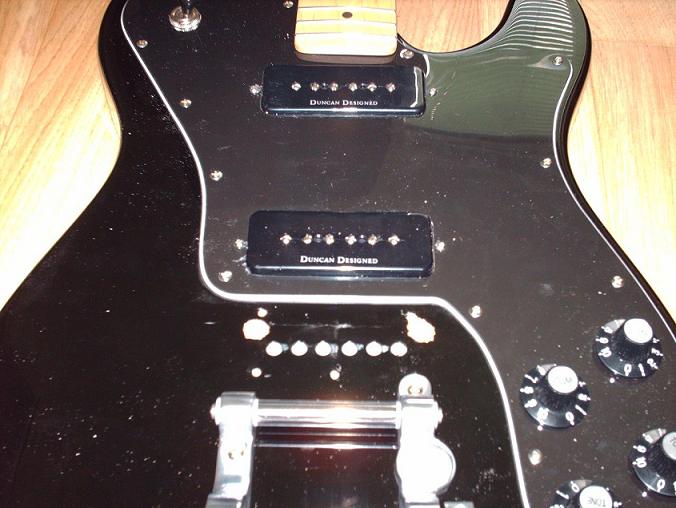
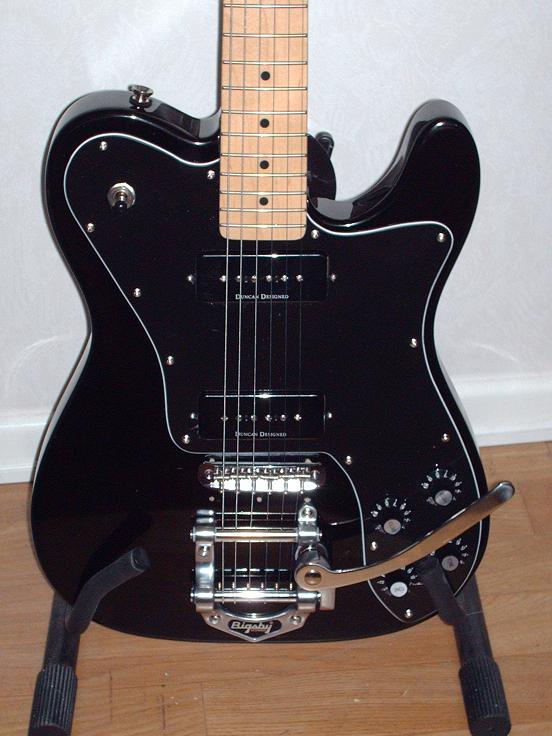
First off, here is the guitar before I did anything:
It sounded pretty good as it was, but I was itching for something more. Plus - as you can just work out from the picture - the bridge isn't on straight. There you go! It was poorly made and thus NEEDED to have a Bigsby put on it.
First off, I took off the strings and then the bridge.
Then I put the Bigsby on the guitar so I could mark out the holes. I took two of the strings that came with the guitar (that I had taken off just before) to help me get the right position.
Then I marked the holes

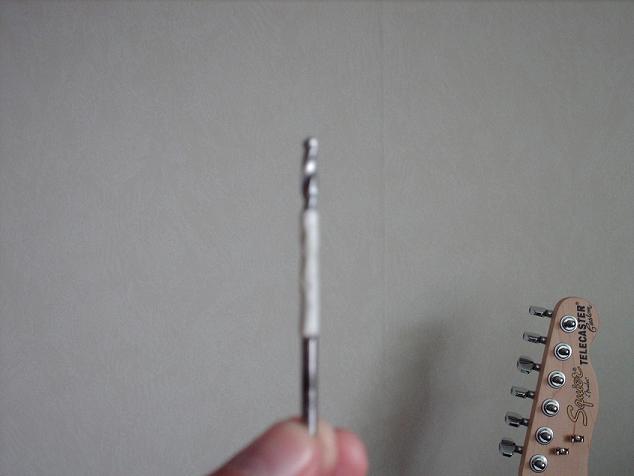
...and marked the drill bit with masking tape (using the length of the screws that will go in there as a guide)
And put on some goggles to drill. I won't drill without them. The chances are slim that anything will fly off and take out my eye, but I don't take chances. You shouldn't either unless you are totally stupid.
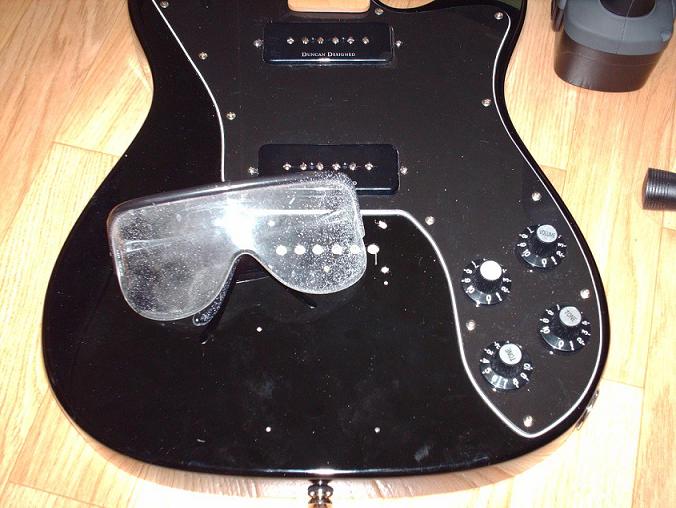
And so the holes were drilled:
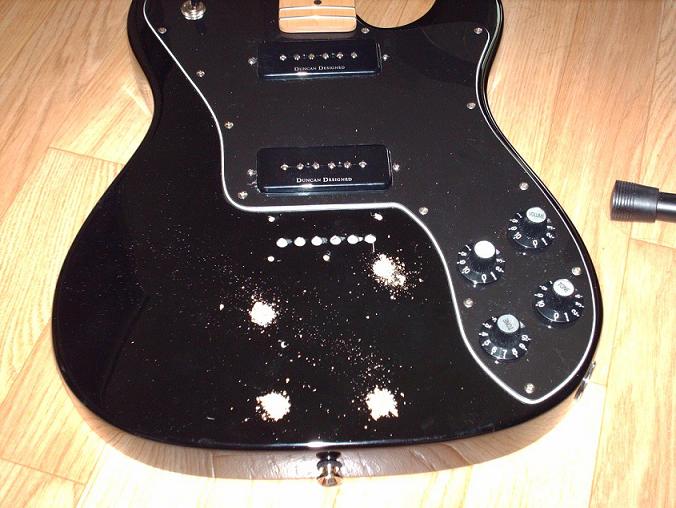
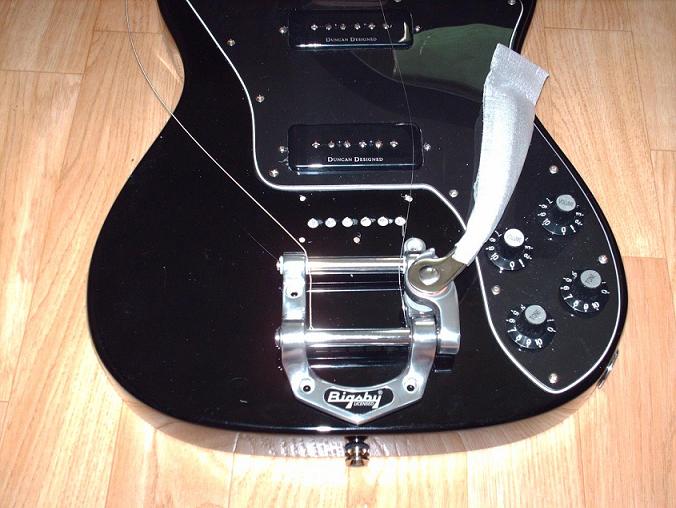
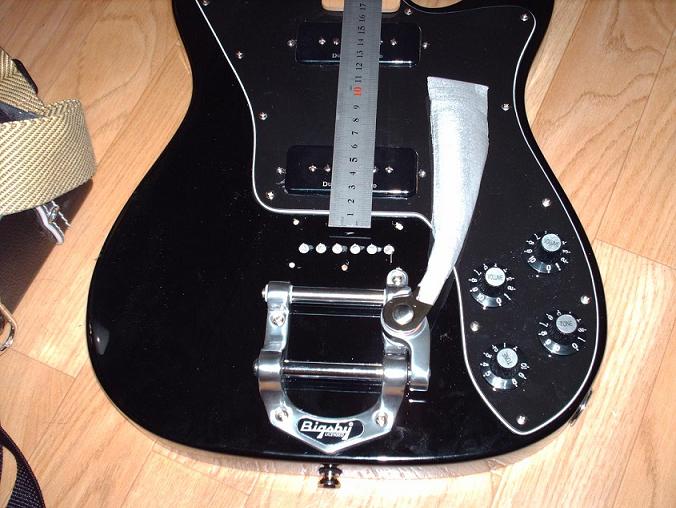
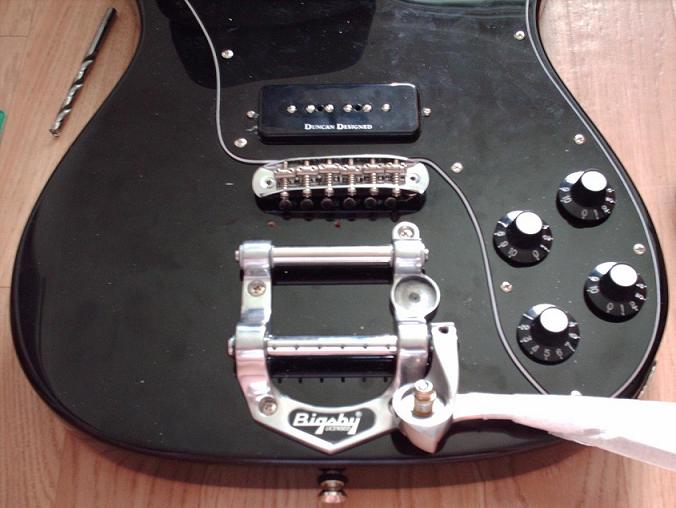
I brushed off the sawdust directly into the bin so I wouldn't be shouted at by the missus. After that I put the Bigsby on.
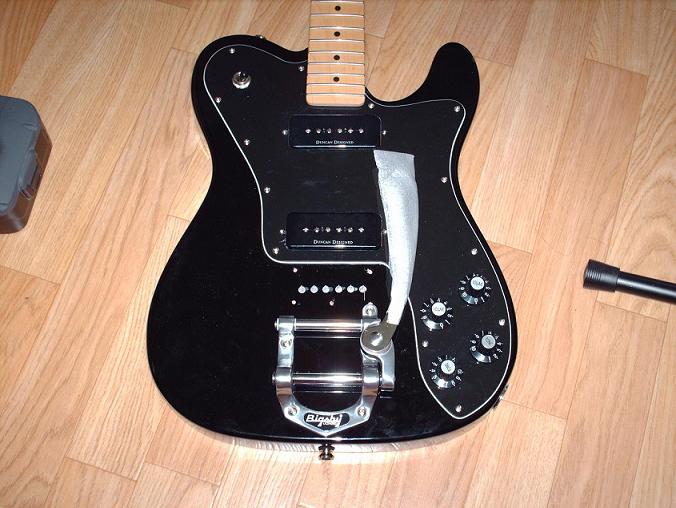
Dang that Bigsby looks nice. Hmmm....I'm not sure it is 100% straight, though. It's hard to tell as the guitar is so poorly put together - nothing is really at right angles. The pickguard above it is not at right angles. Anyway, after this it was time to attach the bridge.
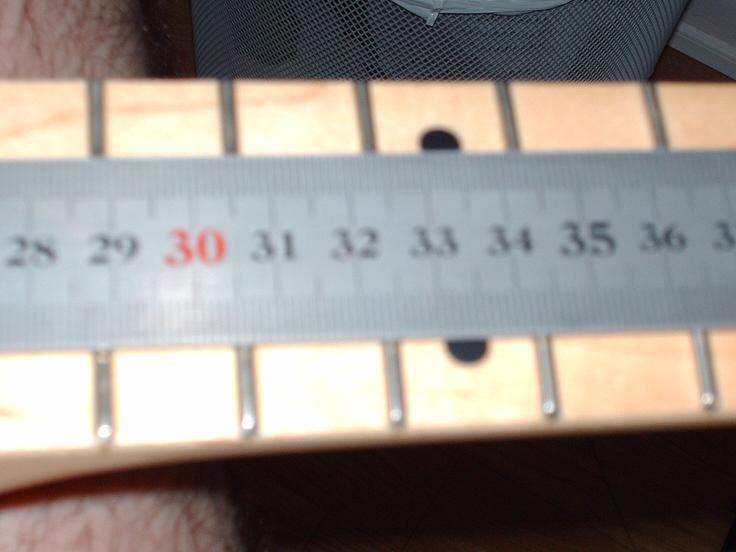
To get the right positioning for the bridge I measured from the 12th fret. According to Melvyn Hiscocks' book How to Build an Electric Guitar, the distance should be 323.84mm from the 12th to where the strings need to start. So I measured, using the magnestism of the pickups to keep the ruler in place.
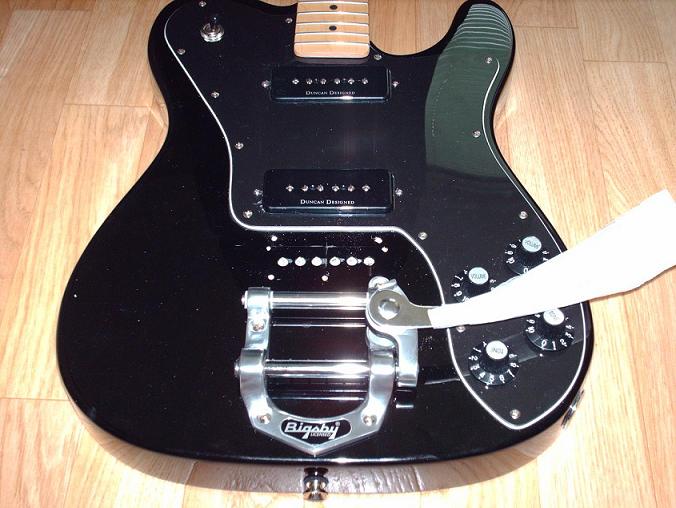
Here's another pic:
In the top left you can see my Strat. Her name is Francesca. I finished making her in March 2006. She is everything I had dreamed of and more. The ideal Strat. But back to the matter at hand...
I used a silver pen to mark a line
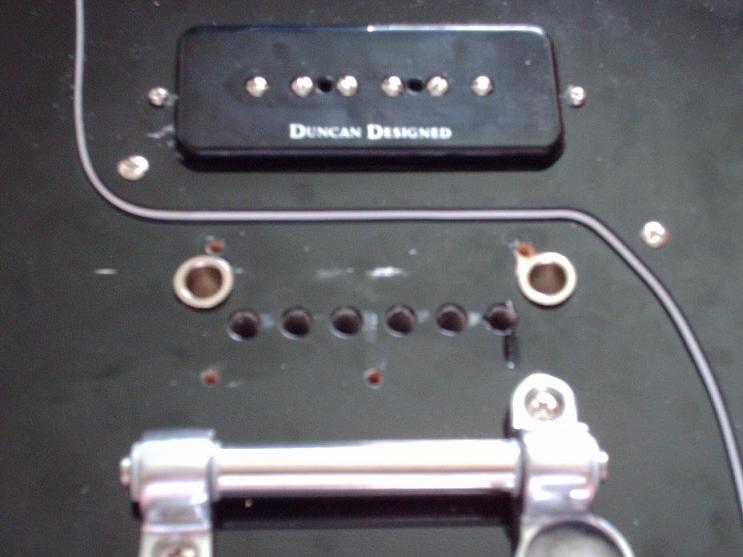
And also marked the centre line, using the 3rd and 4th holes for the string-through as guides. I then marked where the two posts will go and marked their holes with a centre punch.
I then drilled them using a 3.5mm bit to start off the hole. Then, using the same marking technique for the 9mm drill bit (for the posts), I was ready.
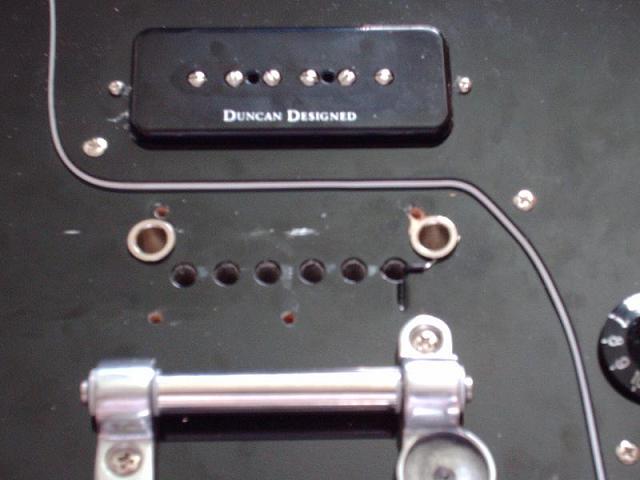
So I drilled the holes with the 9mm bit.
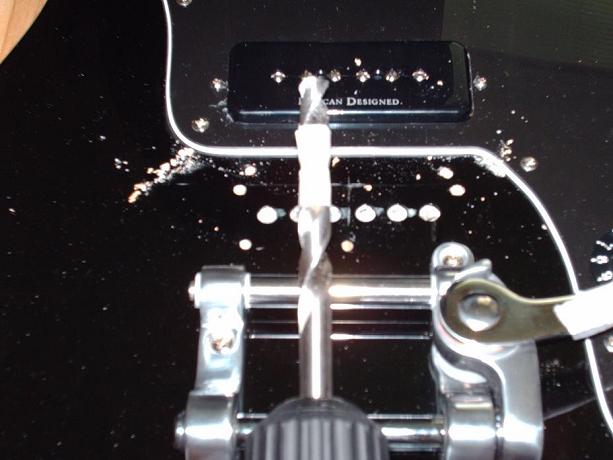
Oh dear. That didn't work out too well. Let's have a closer look.
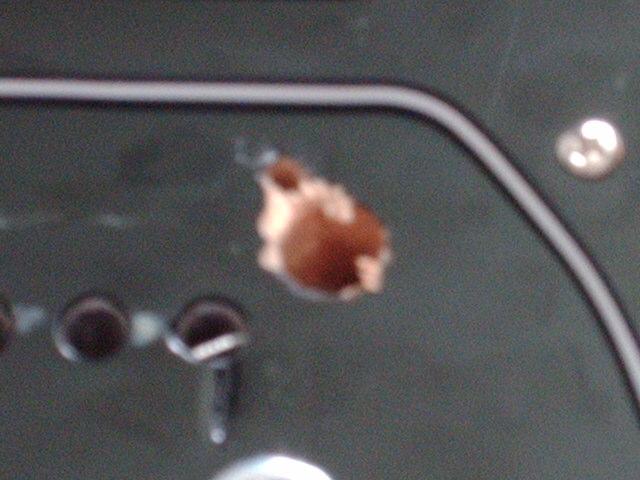
Oh dear. Never mind. The bridge will mostly cover it. Note the grounding wire from the old bridge.
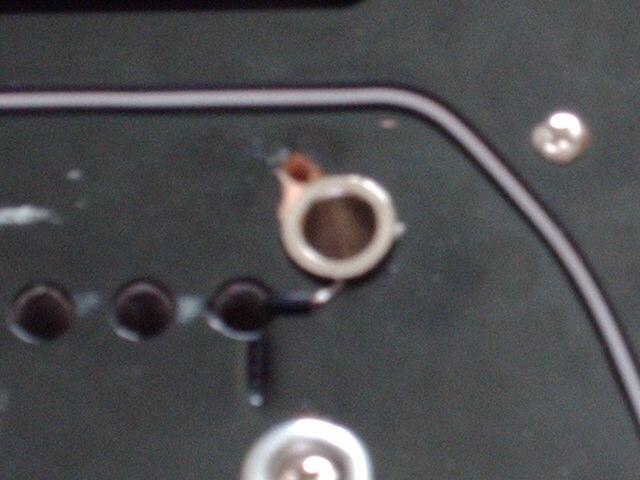
With the posts in I realise that I have forgotten to put in the old grounding wire.
So I gently ease it out a bit and put the wire in. I give it a gentle tap with the hammer.
The posts aren't all that straight. That's because I used a hand drill. Not the best tool to use for such an operation. One day, when we have a house, I shall have a workshop AND a proper table-mounted drill.
Anyway, so the posts are in and the grounding wire is in too.
So it's time to put the bridge on.
And then the strings on...
Yeah! All done. I needed to lower the bridge using the little screws in the posts. I also still need to intonate the thing - this will most likely be very difficult, as I can't see how I can get to the screws without taking out the bridge. I may need to shim the neck too.
But the guitar really looks nice now!